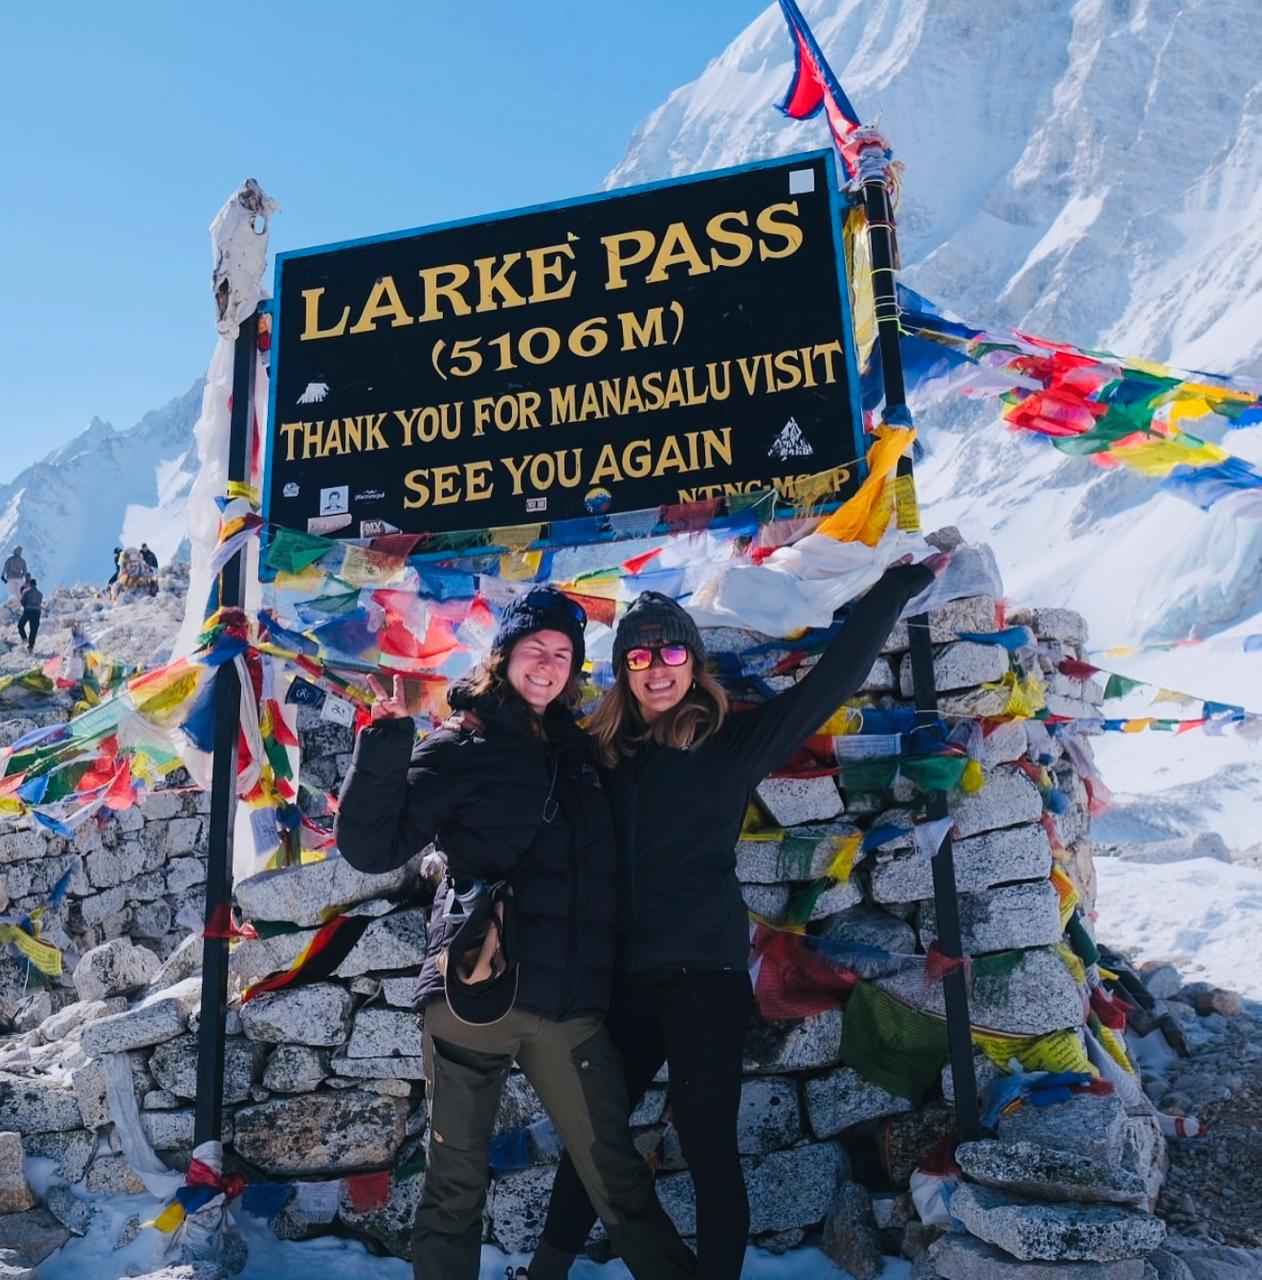
I have walked the Manaslu Circuit with trekkers who run marathons and with trekkers who had never worn a daypack before landing in Kathmandu, and I want to be straight with you before we get into training weeks and step counts. This is a serious trek. You are on trail for roughly thirteen days including your travel days in and out, most trekking days run somewhere between eleven and nineteen kilometers, and you are typically walking five to ten hours depending on the day and how your body is handling the altitude. The cumulative altitude gain over the full loop is large, and there is one day, the crossing of Larkya La at 5,106 meters from Dharamsala down to Bimthang, that is genuinely long and will test tired legs no matter how fit you are. None of that means you need to be an athlete. It means you need to arrive with a real base of fitness, some specific preparation for hills and a loaded pack, and an honest understanding of what a long day at altitude actually feels like. Most of the people who struggle on this route are not undertrained in a dramatic way, they simply never trained at all, or they trained for the wrong thing entirely, like a flat treadmill routine that does nothing to prepare knees and hips for six hours of steady descent. This guide is the training plan I actually give people who ask me how to get ready, built around what works in the mountains rather than generic gym advice.
How physically demanding is the Manaslu Circuit Trek, honestly
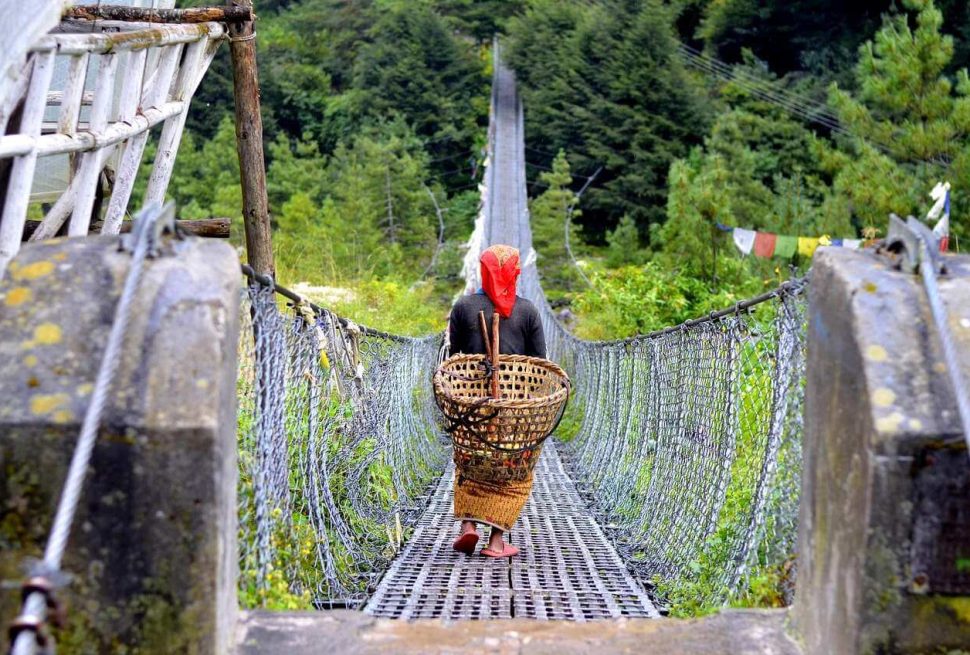
Let me rank this against other treks I guide so you have a real reference point. The Manaslu Circuit sits above the Poon Hill or Ghorepani style treks in every category, and it sits close to or above the Everest Base Camp trek in overall physical demand, mostly because of the pass crossing day and the remoteness of the route. There is no vehicle access along most of the trail, so if you are having a difficult day there is no shortcut back to a road head the way there sometimes is on more developed routes. You are walking on rough trail surfaces, crossing suspension bridges, climbing and descending repeatedly through the lower valleys before the trail opens into higher, more exposed terrain near Samagaon and Samdo.
The trekking days themselves are not uniformly brutal. Several early and middle days are moderate, in the range of four to six hours of walking with gradual elevation change, which gives your body time to adapt. Then you get days that stack up real vertical gain, and finally the pass day itself, which typically starts before dawn and can run eight to ten hours or longer depending on snow conditions, wind, and how the group is moving. You want a full breakdown of what each day involves, our Manaslu Circuit route guide walks through the itinerary day by day, and our difficulty assessment goes deeper into how this trek compares to others in Nepal. My honest read after guiding this route many times: a person with a decent aerobic base, some hill walking experience, and roughly two to three months of focused preparation will do fine. A person who shows up with no training at all can often still finish, because our pacing and acclimatization schedule carry a lot of the load, but they will suffer more than necessary and enjoy the trek less, particularly on the pass day.
How far in advance should you start training
This is the question I get asked more than any other, and the honest answer depends on your starting point. If you already walk regularly, do some form of cardio several times a week, and have no major joint issues, eight weeks of focused, trek specific training is enough to arrive ready. If you are starting from a fairly sedentary baseline, or if you are over fifty and want extra margin, I recommend twelve weeks, and some trekkers I have worked with have taken as long as sixteen weeks when working back from an injury or a long period of inactivity.
The research on training for high altitude trips lines up with what I see in the field. Guides and mountain training programs commonly recommend starting serious preparation around twelve weeks before departure, building aerobic volume gradually rather than jumping straight into long hikes, and layering in strength and pack carrying work as the weeks progress. The pattern that matters most is consistency over that window rather than a single heroic training hike two weeks before you fly. Four to six sessions a week for two to three months beats one exhausting all day hike every other weekend, because your joints, tendons, and cardiovascular system all adapt gradually, and sudden long efforts without a base under them are how people show up to Nepal already carrying a nagging knee or ankle issue.
If you are booking a trip in the near term and only have four to six weeks before departure, do not panic, but do prioritize ruthlessly. Cut anything that is not directly cardio, leg strength, or weighted walking, and lean on our itinerary’s built in acclimatization days to make up ground once you arrive. You can review the full route and trip details on our Manaslu Circuit Trek to see exactly how the days are paced.
Building your cardio base
Everything else in this plan sits on top of a cardiovascular base, so build it first and build it wide. You do not need to run to prepare for trekking, but you do need your heart and lungs doing sustained work several times a week for a period of months. The most useful forms of cardio for this trek, in rough order of how directly they transfer, are walking and hiking, running or jogging, cycling, and swimming. Walking transfers most directly because it uses the same muscles and movement pattern you will use on the trail for hours at a time. Running builds cardiovascular capacity faster per minute spent than walking does, so it is efficient for people short on time, though it is harder on joints and should be built up gradually if you are new to it. Cycling is excellent for building leg endurance and aerobic capacity with lower impact on knees and hips, which makes it a good complement, especially for older trekkers or anyone recovering from a joint issue. Swimming builds lung capacity and overall conditioning without any impact at all, useful as a supplementary session or an active recovery day.
A sensible starting structure is three to four sessions a week of thirty to forty five minutes, gradually extending your longest session each week and adding a fifth or sixth day as your base builds. The specific pattern that trekking coaches and mountain training programs recommend is to make your longest weekly session roughly half of your total weekly training time, since it is that long, sustained effort that most closely mimics an actual trekking day. So if you are training six hours a week, one session of around three hours, at an easy, conversational pace, does more for you than three separate one hour sessions at a harder pace. Keep most of your cardio at an easy to moderate effort, the kind where you could hold a conversation, rather than training hard every time. This is not a fitness test, it is building a durable engine that can run all day without breaking down, which is exactly what a long trekking day and the Larkya La crossing demand.
Leg and core strength for carrying a daypack and long descents
People training for treks tend to overinvest in cardio and underinvest in strength, and then they arrive with lungs that are ready and knees that are not. The muscles that matter most on this trek are your quadriceps, glutes, hamstrings, calves, and your core, because your core is what keeps you stable and upright with a loaded pack on uneven ground for hours at a time. Descents are the part people underestimate most. Going downhill for six hours, as you will on the far side of Larkya La into Bimthang, loads your quadriceps eccentrically, meaning the muscle is lengthening under tension with every step, and that kind of loading is what produces the deep quad soreness and knee strain that ends a lot of trekking days early if the muscles are not conditioned for it.
Two strength sessions a week, thirty to forty five minutes each, is a realistic target most people can sustain alongside cardio training. Useful exercises include squats and split squats, walking lunges, step ups onto a bench or sturdy chair, calf raises, glute bridges, and planks or other core stability work. Add single leg exercises as you progress, since trekking is fundamentally a single leg activity, one foot bearing weight at a time, and single leg strength and balance translate directly to steadier footing on loose or rocky trail. If you have access to a gym, add resistance to squats and step ups gradually over the weeks rather than jumping straight to heavy loads. If you are training at home, bodyweight versions of all of these, done with good form and increasing repetitions over time, build real strength. The goal is not bulk, it is durable, fatigue resistant legs that can still control your body weight on a steep, loose descent after nine hours of walking.
Training on hills and stairs to simulate ascent and descent
If you live somewhere flat, this is the section to pay closest attention to, because flat ground training simply does not prepare your body for what this trek demands. Hills and stairs are the closest thing most people have access to that mimics actual mountain walking, and they train two things a treadmill on a flat setting cannot: the muscular demand of sustained climbing, and the very different demand of sustained, controlled descending.
Find the biggest hill, staircase, or set of stadium steps near you and use it repeatedly. A stairwell in an office building, a parking garage ramp, a set of outdoor steps, or a genuine hill trail all work. Climb steadily rather than sprinting, since the pace you want to build is the slow, sustainable rhythm of actual mountain walking, not a burst of speed. Descend under control as well rather than jogging down, since controlled descent is exactly the skill and strength you are training for. Doing repeats, walking up and down the same hill or stairwell for thirty to sixty minutes, several times over your training block, is one of the single most useful sessions you can do for this specific trek.
If you have access to real trails with elevation gain near you, use them on weekends and let your longest sessions happen there rather than on flat ground. If your area is genuinely flat, a stair climber machine at the gym or a treadmill set to its steepest incline are reasonable substitutes, and adding your daypack with some training weight to these sessions once you have a few weeks of base under you makes them considerably more specific to what you will actually be doing in Nepal.
Hiking with a weighted daypack
On trek, your daypack usually holds water, a layer or two, snacks, camera gear, and personal items, typically somewhere between four and eight kilograms depending on the day and how much you carry versus what goes on a porter or mule. Training with a loaded pack, sometimes called rucking, builds a specific kind of endurance and strength that walking without weight simply does not, because the added load changes how your core, hips, and legs have to stabilize your body with every step.
Start light. In the early weeks of your training block, a pack with five to seven kilograms is plenty. As your base builds over the following weeks, increase the weight gradually, and a reasonable ceiling for most trekkers is somewhere close to what you will actually carry on the mountain, since there is little benefit and real injury risk in training with a pack far heavier than your actual trekking load. What matters more than absolute weight is doing these hikes on varied terrain, hills where possible, for durations that stretch toward two to four hours as your training block progresses. This is the session that most closely rehearses an actual trekking day: a loaded pack, hours on your feet, and terrain that is not flat. If you can only add one specialized session to an otherwise generic fitness routine, make it a weekly weighted hike on the hilliest terrain you can find.
The 9 Days Manaslu Circuit Trek, also known as the Short Manaslu Circuit Trek, is designed for trekkers who want…
A sample weekly training structure across your training block
People do better with training when it has a rhythm they can follow rather than a list of exercises to figure out fresh every week. Here is the structure I recommend, adapted from how mountain guiding programs and trekking coaches lay out a training week, spread across six days with one full rest day.
| Day | Focus | Example session |
|---|---|---|
| Monday | Strength | Squats, step ups, lunges, core work, thirty to forty five minutes |
| Tuesday | Cardio, moderate | Brisk walk, run, or cycle, forty five minutes at an easy to moderate effort |
| Wednesday | Hills or stairs | Stair or hill repeats, thirty to sixty minutes, with pack once base allows |
| Thursday | Strength plus core | Single leg work, glute bridges, planks, thirty minutes |
| Friday | Easy cardio or rest | Light walk, swim, or full rest depending on the week’s fatigue |
| Saturday | Long session | Weighted daypack hike on hilly terrain, two to four hours, building over the block |
| Sunday | Rest or active recovery | Full rest, or a gentle walk with family or friends |
This is a template, not a rigid rulebook. Swap days to fit your work schedule, and adjust volume for your starting fitness. What matters is the pattern: frequent moderate cardio, dedicated strength work twice a week, one session that specifically simulates hills and elevation change, and one longer weighted hike each week that grows over the course of your training block. Build in an easier recovery week roughly every third or fourth week, where you cut volume by around a third, since this is when your body actually adapts and gets stronger from the preceding weeks of loading.
A sample multi week training plan
Here is how I would structure a twelve week block for a trekker starting from a moderate fitness baseline, someone who walks occasionally but is not currently doing structured training. If you have eight weeks, compress this by starting at around week five of this table. If you are already fit and active, you can start around week seven or eight and use the earlier weeks as extra margin.
| Weeks | Phase | Focus | Example sessions |
|---|---|---|---|
| Weeks one and two | Base building | General aerobic fitness, movement habit | Three to four cardio sessions of thirty minutes, bodyweight strength twice a week |
| Weeks three and four | Base building continued | Increasing duration, introducing hills | Four cardio sessions, one on hills or stairs, strength twice a week, first light weighted walk |
| Weeks five and six | Building volume | Longer sessions, pack weight introduced properly | Weighted hikes of ninety minutes to two hours, hill repeats, strength with added resistance |
| Week seven | Recovery week | Reduced volume, let the body adapt | Cut total training time by roughly a third, keep intensity easy |
| Weeks eight and nine | Peak building | Longest sessions of the block | Weighted hikes of three to four hours, back to back hard days on some weekends to simulate cumulative fatigue |
| Week ten | Recovery week | Reduced volume again | Cut volume by roughly a third, prioritize sleep and mobility |
| Week eleven | Final build | One last solid week, nothing new | Familiar sessions only, moderate weighted hike, strength maintenance |
| Week twelve | Taper | Winding down, travel preparation | Short easy walks, light mobility work, focus on packing and logistics |
Notice that the plan never asks you to do something in the final two weeks that you have not already done successfully earlier in the block. That principle, doing your hardest and longest training in the middle of your preparation rather than right before departure, is one of the most consistently supported ideas across endurance training research, and it applies just as much to trekking as it does to running or cycling events.
Training your mind for long days and the pass crossing
Physical preparation gets most of the attention, but the mental side of a long trekking day, particularly the Larkya La crossing, deserves real attention too. That day starts early, often in the dark, and involves hours of steady climbing followed by a long, sometimes cold descent to Bimthang. There is a stretch in the middle where you are above 5,000 meters, moving slower than you are used to because of the altitude, and it is common to hit a mental low point somewhere in that stretch, usually not because your legs have failed but because the day feels endless and you are tired of walking.
The best preparation for this is rehearsal. During your training block, deliberately include some long days, three to four hours or more, ideally back to back on a weekend, so you know what it feels like to keep moving when you are already tired rather than fresh. Practice breaking a long effort into small pieces mentally, focusing on reaching the next ridge, the next rest point, or the next hour rather than the summit of the pass itself, which can feel psychologically distant for most of the day. Trekkers who do well on pass day are almost always the ones who have experienced genuine fatigue in training and know that it passes, that the discomfort of hour six or seven is not a sign that something is wrong, it is simply what a long day feels like. Talk to your guide on the day itself, set small goals out loud if that helps you, and remember that our itineraries are built with realistic timing precisely because we know this day is hard, so there is no need to rush it.
The final two weeks before departure: taper, do not overtrain
This is where I see even well trained trekkers make a mistake. With two weeks to go, nervous energy pushes some people to squeeze in one more big hike, add an extra gym session, or suddenly try a new exercise they read about. Do not do this. The final two weeks are for tapering, meaning you deliberately reduce training volume while keeping some light activity, so your body arrives rested rather than freshly fatigued. The fitness gains from your training block are already banked by this point, and a hard session in the final week does not add meaningful fitness, it mainly adds fatigue and injury risk right before you need your body working at its best.
A sensible taper looks like short, easy walks, some light mobility or stretching work, and full rest days, with your last real workout of any significant length wrapping up around ten to fourteen days before you fly. Use the extra time and energy for practical preparation instead, breaking in your boots fully if they are new, testing your full pack weight one more time on an easy walk, sorting your packing list, and getting good sleep, since sleep debt going into a long international flight and trek start is genuinely counterproductive. Hydrate well in the days before you fly, and go easy on alcohol in the final week, since both affect how well you handle the altitude gain once trekking begins.
How age and prior trekking experience change your training approach
I guide trekkers across a wide age range on this route, and age changes the training approach in some practical ways without changing the destination. Trekkers over fifty or sixty generally need a longer runway, twelve to sixteen weeks rather than eight, because both cardiovascular adaptation and joint and connective tissue adaptation happen more slowly with age. Recovery between hard sessions also takes longer, so building in more rest days and being willing to take an extra recovery week if you are feeling run down matters more than it does for a twenty five year old following the same plan. Strength training becomes proportionally more important with age too, since maintaining muscle mass and joint stability does more to prevent injury on long descents than additional cardio volume once your aerobic base is established.
Prior trekking experience matters as much as raw fitness. Someone who has done a week long trek before, even at lower altitude, already has a body that knows how to walk for hours at a time, how their feet and boots interact over multiple days, and roughly how their body responds to sustained effort. First time trekkers should not skip steps in this plan, and I would specifically encourage anyone with no multi day hiking experience to get at least one or two long practice hikes of six or more hours under their belt during training, ideally with the actual boots and pack they plan to use in Nepal, since discovering a blister problem or pack fit issue on day one of an actual trek is a preventable frustration.
Common training mistakes people make before this trek
After years of guiding this route, the same handful of mistakes show up again and again. The first is doing only flat, low effort cardio and assuming it transfers to mountain walking, when in fact the specific demands of sustained climbing and, especially, sustained descending require hill or stair specific training that flat walking does not provide. The second is neglecting strength work entirely, showing up with good cardiovascular fitness but weak stabilizing muscles, which tends to produce knee pain on the long descent days rather than on the climbs. The third is never training with a loaded pack, so the first time someone feels what four to eight kilograms does to their pace and balance is on the actual trek rather than during preparation.
The fourth mistake is cramming, trying to build months of fitness into the final two or three weeks, which mostly produces fatigue and sometimes injury right before departure rather than genuine readiness. The fifth is ignoring recovery entirely, training hard every single day without rest days or lighter weeks, which leads to burnout, nagging overuse injuries, or illness right around the time of departure, which is exactly the wrong moment for any of those things. And the sixth, more subtle mistake is training the body but not the feet, meaning new boots that have never covered real distance, or new socks and insoles tried for the first time in Nepal. Break in your footwear thoroughly during training, on the same terrain and distances you plan to walk, since foot problems end more trekking days than fitness problems do.
Fitness demands across the itinerary, day by day
Not every day on this trek asks the same thing of your body, and understanding where the real demands sit helps you know where your training should pay off most. The table below compares a few representative days to show the range.
| Trek day | Typical duration | Physical demand | What it mainly tests |
|---|---|---|---|
| Early valley walking days near Soti Khola and Machha Khola | Five to seven hours | Moderate | General walking endurance, warming into trail rhythm |
| Acclimatization day around Samagaon | Three to five hours | Low to moderate | Recovery, adjusting to thinner air without major exertion |
| Approach day to Samdo or Dharamsala | Four to six hours | Moderate, with real altitude effect | How your body handles exertion at increasing elevation |
| Larkya La crossing, Dharamsala to Bimthang | Eight to ten hours or more | Very high | Cumulative endurance, cold and altitude tolerance, sustained descent strength |
| Descent days below Bimthang toward Dharapani | Five to seven hours | Moderate, with significant descent | Quad and knee durability after the big pass day |
What this table should tell you is where to focus your training energy if time is limited. The middle days of the trek are genuinely manageable for most reasonably fit people even without perfect preparation, since our itinerary spaces them with acclimatization built in. The pass day and the descent immediately after it are where real preparation pays off most directly, which is exactly why this guide leans so heavily on hill and stair training, weighted pack hikes, and building a body that can handle sustained descending on tired legs.
How our itinerary and pacing help trekkers of varying fitness levels succeed
I want to be honest that training is not the only variable here. How a trek is paced matters enormously too, and this is something worth understanding before you assume you need elite level fitness to succeed on this route. Our itinerary builds in dedicated acclimatization days, sensible daily distances that avoid unnecessary back to back long days, and enough time margin that a slower pace on any given day does not put the whole schedule at risk. We walk at the pace of the group, not a forced march, and our guides are experienced at reading how trekkers are doing and adjusting accordingly, including rest breaks, pacing on the pass day, and support if someone is having a harder day than expected.
This does not replace training, and I would never tell someone to skip preparation because the itinerary will carry them. What it does mean is that a solid but not extraordinary level of fitness, built through the kind of plan in this guide, combined with a well paced itinerary and an experienced guiding team, is genuinely enough for the large majority of trekkers who come to this route. If you want to understand exactly how the days are structured and where the built in buffer sits, our route guide and our difficulty assessment both go into detail on this, and our general FAQ and cost answers many of the practical questions trekkers ask once they are seriously considering booking.
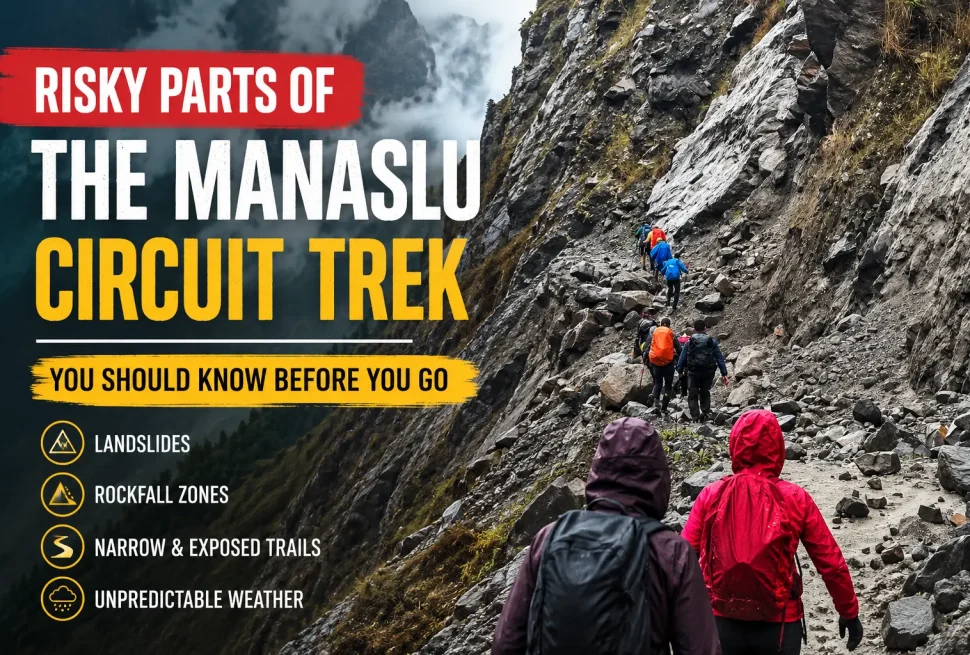
Once your fitness is where it needs to be, it helps to know exactly which sections of the trail demand the most from you, and our breakdown of the trickiest parts of the Manaslu Circuit covers that in detail.
Frequently asked questions
Do I need to be a runner or an athlete to complete the Manaslu Circuit Trek
No. Most trekkers who complete this route successfully are not athletes in any competitive sense. What matters is a reasonable aerobic base, some leg strength, and enough hill or stair training that your body is not encountering sustained climbing and descending for the first time on the actual trek. Ordinary, consistent training over two to three months gets most people ready.
How many hours a week should I actually be training
A workable range is five to eight hours a week in the early part of your training block, building toward ten to twelve hours a week at the peak of your preparation, then tapering down in the final two weeks. This includes cardio sessions, strength work, and your longer weighted hikes combined, not each category separately.
Can I train indoors if I do not have access to hills or mountains near me
Yes, and many trekkers do exactly this. A stair climbing machine or a treadmill set to its steepest incline are reasonable substitutes for real hills, and adding your loaded daypack to these sessions once you have some base fitness makes them considerably more specific to the trek. Combine this with outdoor walking or running for variety and to build comfort moving on uneven surfaces.
How heavy should my training pack be
Start light, around five to seven kilograms, in the early weeks, and build gradually toward whatever weight you actually expect to carry in your daypack on trek, typically four to eight kilograms depending on the day. There is little benefit to training with a pack much heavier than your real trekking load, and doing so mainly raises injury risk without adding useful specific fitness.
What if I only have four to six weeks before my trek
Focus your limited time on the highest value sessions: hill or stair repeats, one weighted daypack hike each week building in duration, and two short strength sessions weekly for legs and core. Skip anything generic that does not directly build these qualities. Trust that our itinerary’s pacing and acclimatization days will help carry you through, and be honest with your guide about your preparation so the team can support you appropriately.
Is altitude sickness related to my fitness level
Not directly. Altitude sickness is primarily about how your individual body responds to reduced oxygen at elevation and how well the ascent schedule allows you to acclimatize, and it affects very fit people as often as it affects less fit trekkers. Fitness helps you handle the physical exertion of trekking days more comfortably, which matters, but it does not prevent altitude illness on its own. Following a sensible ascent pace, staying hydrated, and communicating symptoms to your guide early are what actually reduce risk.
Should I worry more about the climbing or the descending on this trek
Descending deserves more attention in training than most people give it. Climbing is demanding on the cardiovascular system, but descending, particularly the long descent from Larkya La down to Bimthang, loads your quadriceps and knees in a way that causes real problems for people who have not trained for it specifically. Include downhill focused training, controlled descents on hills or stairs, in your preparation rather than only training the uphill effort.
What age is too old to attempt this trek
There is no fixed cutoff, and I have guided trekkers well into their sixties and beyond who completed this route successfully. What changes with age is the training runway you should give yourself, generally twelve to sixteen weeks rather than eight, and the emphasis on strength training and recovery. A realistic self assessment of your current fitness and a longer, steadier training block matter far more than a specific number on a calendar.
Get in touch before you book
If any part of this leaves you unsure whether you are ready for the Manaslu Circuit, reach out to us directly rather than guessing. We talk to trekkers every week about their current fitness, their available training time, and their trekking history, and we can give you honest feedback on whether this route suits you right now or whether another trek, or a longer training runway, makes more sense. Call or message us on WhatsApp at +977 9869225929, email us at info@manaslutreks.com, or visit our contact to reach the team. We would rather help you prepare properly and enjoy the trek than have you show up undertrained for a route that genuinely rewards real preparation.